This week I looked at tackling two different miter gauge extensions.


Both of these projects use, almost exclusively, the skills I learned and practiced last week.
Unfortunately, I ran into a snag right off the bat. On Thursday, I finally remembered that I had read on the ShopSmith forums how to fix the orientation of my quill depth dial. However, upon loosening the setscrew on the spring housing, the tensioning spring unwound. I didn't think this was a big deal at the time, as re-tensioning the spring takes just a few minutes. What I didn't know, and found out this morning upon attempting the process, was the that spring had slipped off of the internal pin, and wasn't re-engaging. I ended up spending almost two hours disassembling the quill feed mechanism, reattaching the spring to the internal pin, then wrestling with that sub-assembly to get it back into the spring housing.
By this time, it was starting to get pretty warm in the shop, and the voice actuator on my camera decided to not work today, so I didn't get as many pictures as I would have liked.
Adjustable Miter Gauge Extension
This is a pretty simple fixture. I cut down a piece of 3/4" plywood to 3"x15". Then, using a router, I made a 1/4" wide slot with a 5/8" counter-sunk groove running through the middle of the length that is about 1" from each end.
 |
| Set the fence for 3" from inside tooth |
 |
| Rip to width. Push sticks are your friend! |

As you can see in the final picture, the carriage bolts are recessed from the face of the miter gauge extension, and it can be easily moved across nearly it's entire length. I like to bring it right up the edge of the blade, so I know exactly where to position my cut line.
Miter Gauge Extension with Sliding Stop
This one took a lot more time than the other gauge, but I really like it! This thing is a beast! It's thicker than it should be, as re-sawing plywood is not particularly pretty, and it's tough to joint/plane afterwards. So I didn't. It's just under 1.5" think (two layers of 3/4" plywood), but it used every technique I learned last week, which is pretty cool! I ripped some plywood down to 3" for the back, and two pieces 1.25" for the front track. I then cross cut each one down to 23". The two front pieces had a 0.25" x 0.25" rabbet ripped along one edge. The stop had a 0.25" x 1.25" rabbet cut onto each side. 1/4" holes with 5/8" countersinks were driven in the rear board, and two small 5/8" cut-outs were made in the front to accommodate the carriage bolts. The whole thing was then glued up and later assembled.
 |
| Cross cutting rear section |
 |
| Setting up to rip the front pieces |
 |
| Gluing up the main assembly |
 |
| Gluing up the sliding stop, I doubled up two pieces of 1/8" hardboard for the internal portion. |
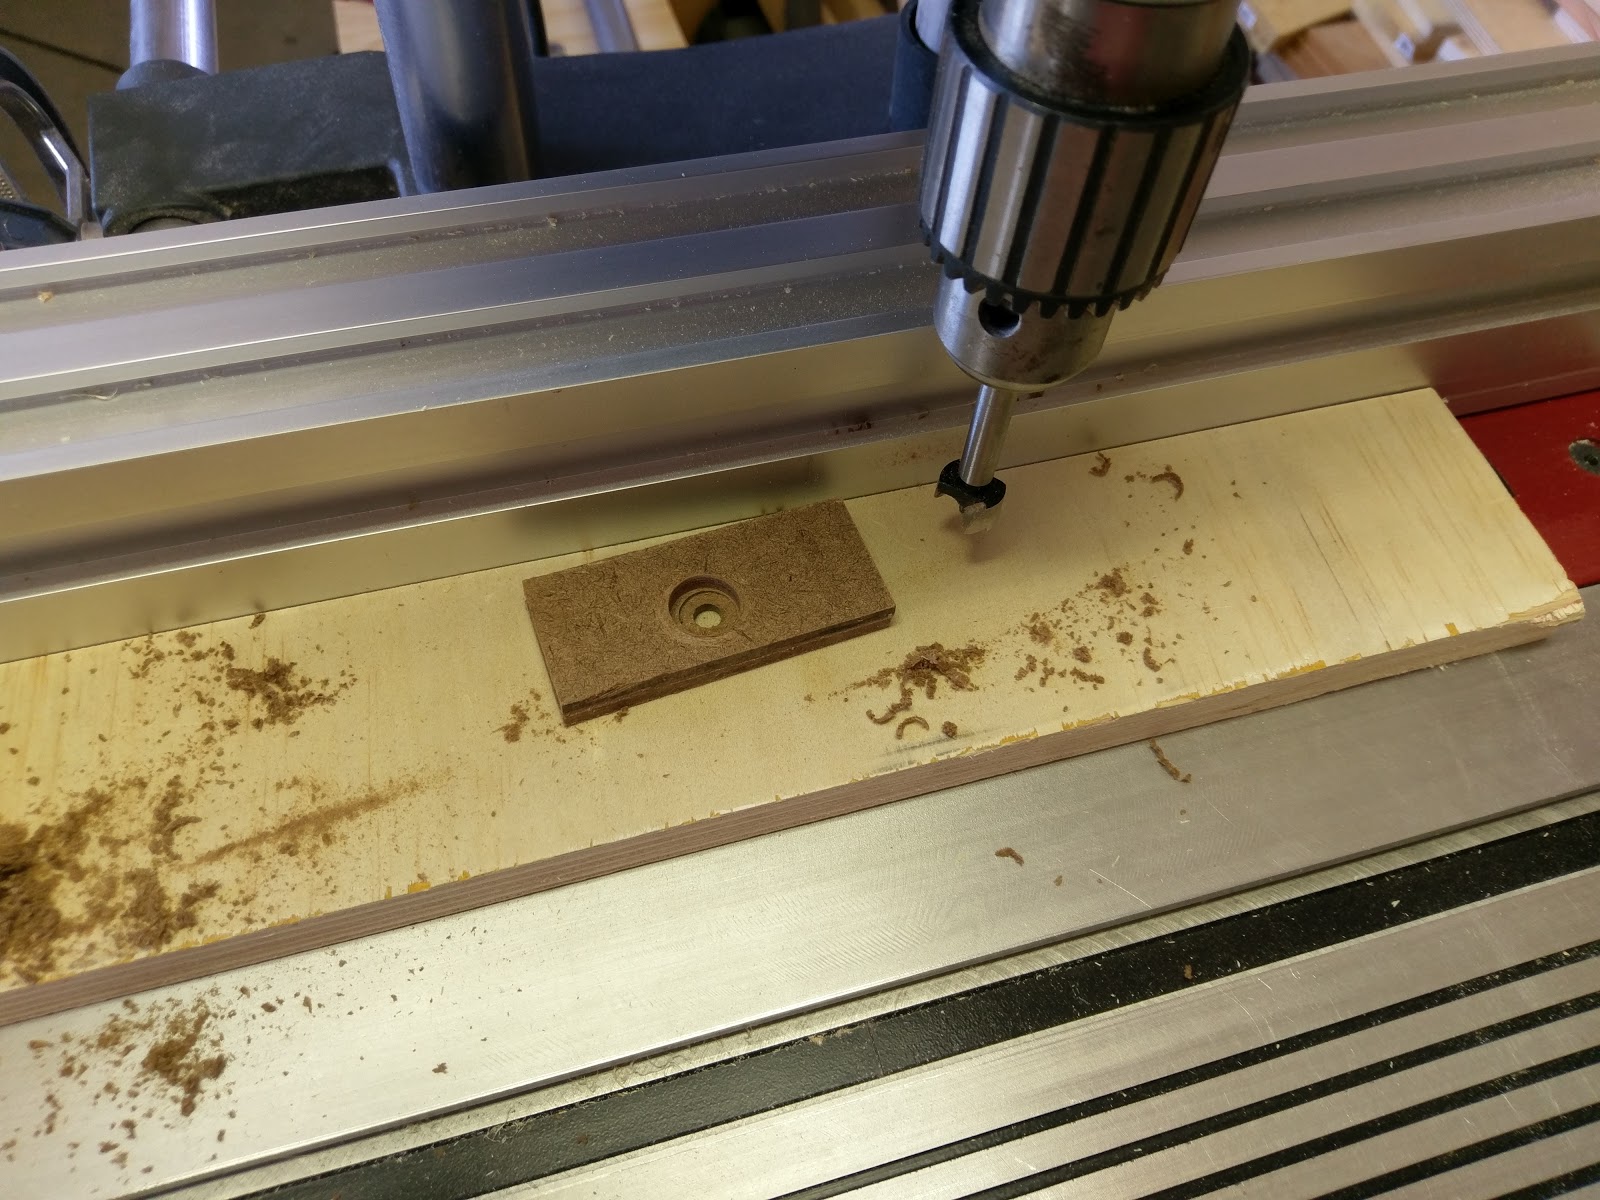 |
| Drilling and counter sinking |
 |
| Assembling the stop |
 |
| Stop installed in the main assembly |
 |
| Installed on the miter gauge. This thing is massive! |
Part 2 of Practicum.


0 comments:
Post a Comment