|
| Results from todays lessons |
As I mentioned in my cabinet post, having theoretical understanding of a technique is immensely far removed from being able to actually perform that technique. I learned that there are many skills and techniques that I need to practice on the ShopSmith. Fortunately, ShopSmith offers a
self-study course. I decided that before moving on to any more actual projects, it would behoove me greatly to go through this course, and learn how to do a lot more with my machine.
The course is broken up into 10 different sections, each of which have several assignments. I began Lesson 1 today, and made it through the first 5 assignments. These start off very basic, and get progressively more advanced.
Assignment 1 I actually performed last week (inadvertently).
 |
| Already done! Woo!!! |
 |
| Ripping lumber |
In Assignment 2, you learn a basic rip (with the grain) cut. Starting with a 3/4" thick board that's 6" wide and 2'-3' long, set your rip fence 4" from the inside tooth of your blade. Power up the machine, and make just a small nick in the stock to check your measurement.
 |
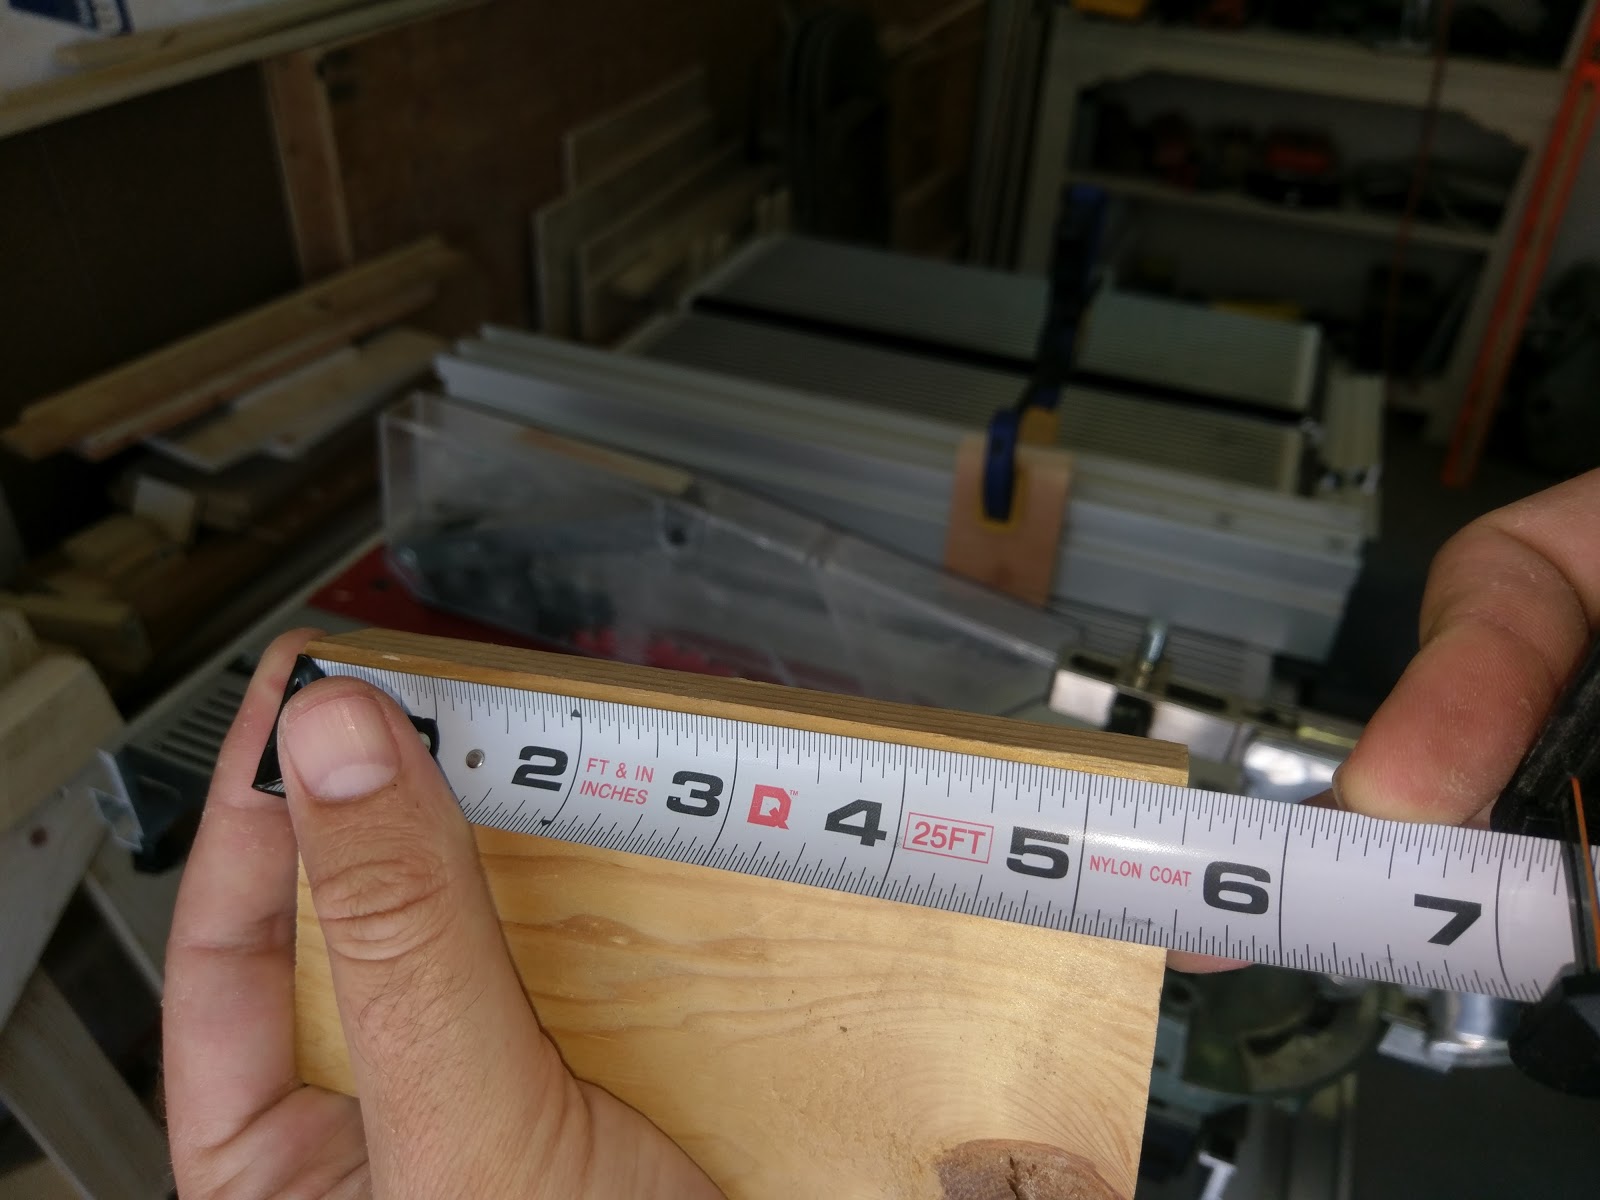
| 4" from left edge of board to left edge of nick |
With the machine powered off, make any necessary adjustments with either the fence or the quill, and complete the cut.
 |
| Off-cut remains on the table while the blade comes to a stop |
Assignment 3 is the cross (across the grain) cut.
 |
| Cross cutting lumber |
Using the 4" wide piece of stock created in Assignment 2, use the miter gauge (set at 90*) to first cut about an inch off of one side, then flip the board end for end. This keeps the same edge against the face of the miter gauge and will ensure that ends are parallel.
 |
| Line it up... |
 |
| Make the cut |
From the freshly cut end, measure 20" and make a squared mark across the width of the board. With the machine off, line up the cut line so that the blade will cut
just above it, removing only waste wood. Power up the machine and make the cut.
 |
| Measure and mark |
 |
| Align properly with blade |
 |
| Make the cut |
 |
| Squared up cut. The bottom edge was against the miter gauge. |
Those are the two basic cuts on a table saw. Pretty simple, but they are absolutely fundamental.
 |
| Crosscutting to equal lengths |
Assignment 4 demonstrates the process for cutting multiple pieces to the same length. This is a necessary skill for many projects, and one of the few times that the fence will be used in conjunction with the miter gauge for through cuts.
 |
| This is not normally safe! |
In order to avoid crosscut stock from binding against the fence and causing a dangerous kickback, a stop block is used to provide some clearance. This is clamped to the fence on the infeed side of the blade, far enough back that the stock will have cleared the block before it has passed far enough through the cut to separate. This assignment uses a 3/4" thick piece of lumber that is 3" wide and 30" long. The stop block is clamped to the fence so that it's trailing end is about 1" forward of the leading edge of the blade.
 |
| Stop block clamped to fence |
 |
| Fence assembly set 5.5" from inside tooth of saw (measured to the block) |
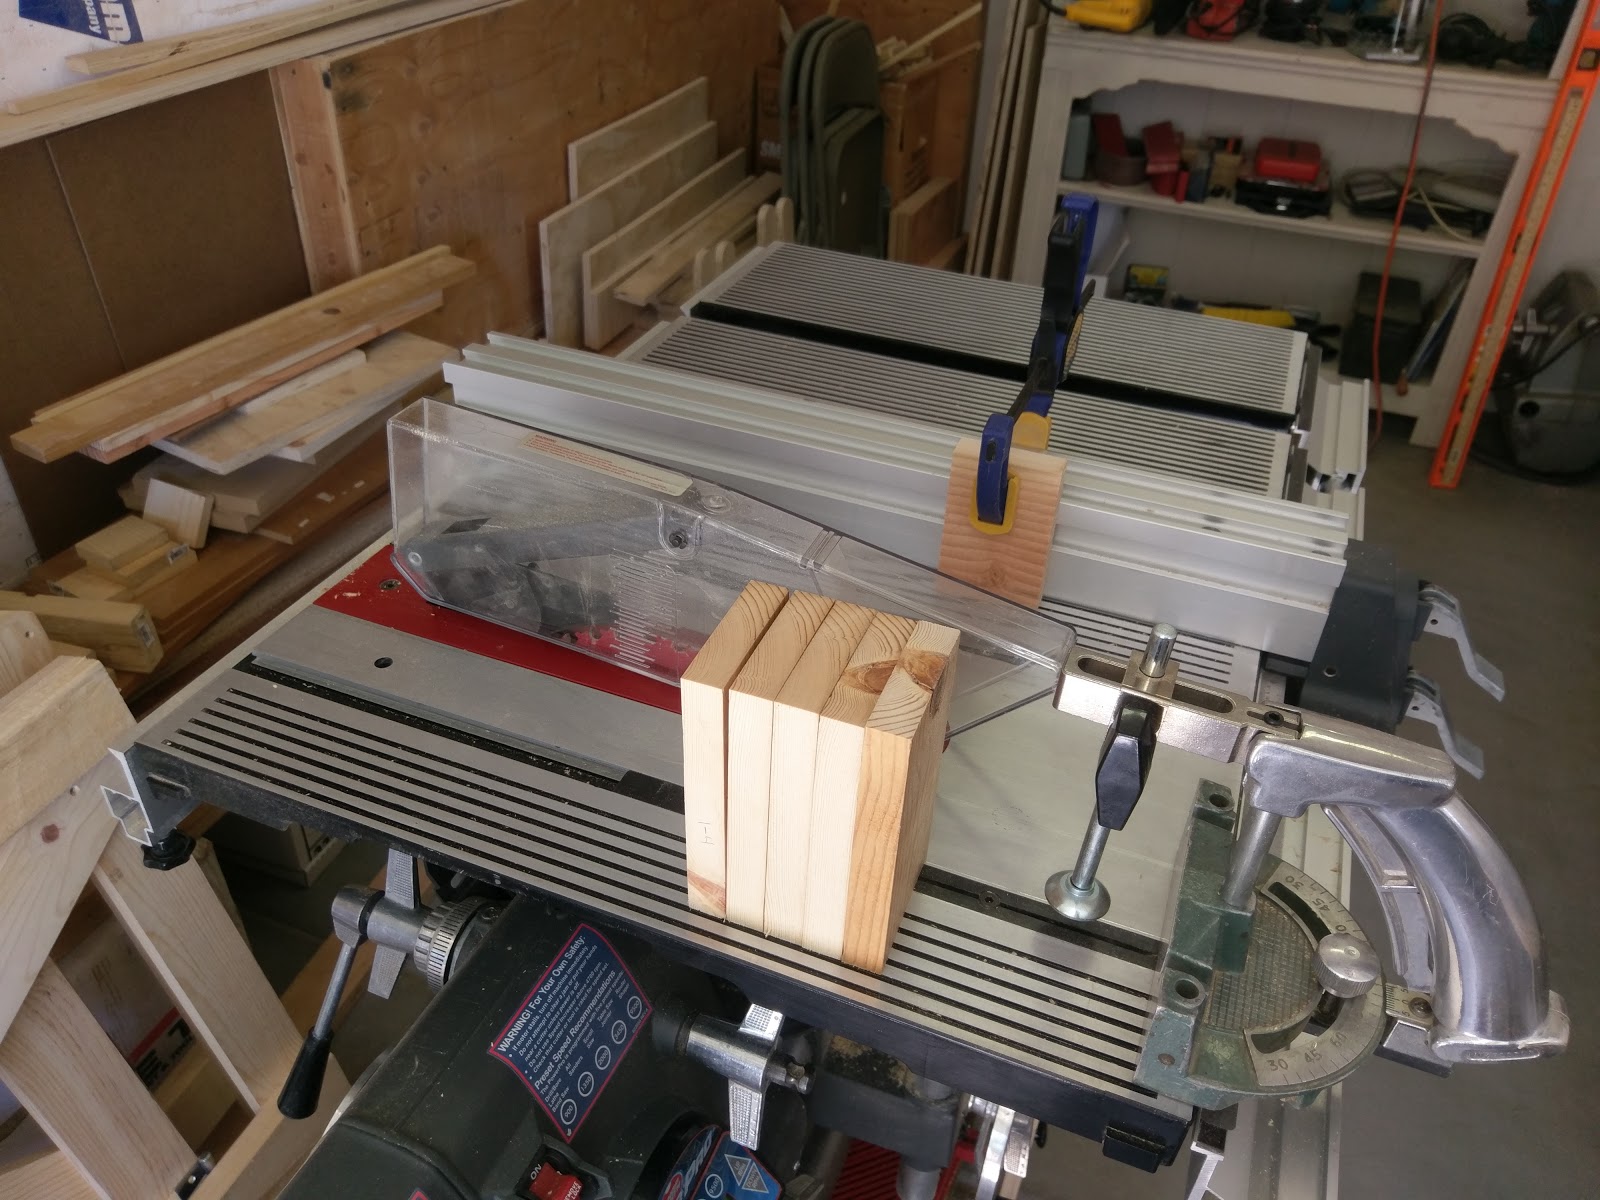
Make a cut in a scrap piece of stock to check length, and make any necessary adjustments to the fence assembly. Using the actual stock in the miter gauge, butt the piece gently against the block, and make the first cut. Return to the starting position, and repeat. Do this until your stock is not long enough to be completely supported across the face of your miter gauge.
 |
| Making first cut |
 |
| It is the proper length! |
 |
| Continue making cuts |
 |
| At end of cut, pull stock away from blade, and return to starting position |
 |
| One more cut |
To cut this last section to length, use a previously cut piece laid on top to mark a cut line, then proceed as with a normal crosscut.
 |
| Guide piece |
 |
| Mark it up! |
 |
| Line it up, make the cut |
 |
| Equality is fun! |
 |
| More advanced techniques with the table saw configuration |
Rabbets (or rebates if you're in the UK), are grooves running along either the end or the edge of a piece of stock, and provide a lot of glue surface for strong joinery. This is a very important technique to know how to perform properly. This assignment uses a 3/4" thick lumber, 3" wide and 30" long. The edge rabbet is 3/8"x3/8" while the end rabbet is 3/4"x1/2". Two different techniques are demonstrated.
To make the edge rabbet, first set the table so the blade extends 3/8". Move the fence so that it is located 3/8" from the
outside tooth of the blade. Press the edge of the stock firmly against the fence, and make the cut. Since this is not a through cut, the upper saw guard must be removed, so take extra precautions to keep your hands away from the blade. To quote
Matt Vanderlist, "Fingers and thumb, don't be dumb!" Power off the machine, move the fence so that it is located 3/8" from the
inside tooth of the blade. Press the uncut face of the stock firmly against the fence, and make the cut. This will remove a thin section of wood from the edge of your stock on the outside of the blade, so you should be safe from dangerous kickback, but stay out of the way to be safe.
 |
| I use a combination square for setting blade height and close-to-the-blade fence placement |
 |
| Setting blade height |
 |
| Setting fence position for first cut. Measured from outside tooth of blade. |
 |
| Make first cut in face of stock. No guards, so be careful. |
 |
| Fence adjusted, uncut face against fence. |
 |
| What a pretty rabbet! |
To make the end rabbet, I used this same piece, and used the uncut edge against the miter gauge. The assignment called for a fresh piece of lumber, but I didn't see a good reason to cut of another piece of stock. Table height was adjusted to 1/2" and fence was set at 3/4" from
outside tooth of saw. Holding the stock in the miter gauge, and butted against the fence the first cut was made. The stock was then moved over the thickness of the blade (in my case I shifted the stock to the left, but it depends on which side of the blade your fence is on), and another cut was made. Lather, rinse, repeat until the edge of the stock is reached.
 |
| Blade height |
 |
| Fence and stock in position, held firmly against miter gauge. |
 |
| Start of second cut |
 |
| Repeat until all waste wood is cleared out. |
I'm beginning to feel a bit more comfortable with these sawing techniques, but I made sure to practice both methods of making rabbets several times. I think I'll get the hang of this! More assignments on technique coming soon!
Part 2 and
Part 3 now available!